I initially took this class to better my skills at Photoshop and I feel like I am way more advanced than when I started at the beginning of the semester. Through numerous tutorials, I now have the knowledge of how to edit pictures with typography and transform them into extraordinary pieces of art. I feel very comfortable with Photoshop and I could probably show others how to do some of the cool tricks that I've acquired. The only thing that I'm not to good at is Illustrator. I went to the Art Institute of Raleigh-Durham for an art Summer Session was semi-productive with the software, but since then I have lost the ability. Luckily, this course has reintroduced me to some of the functions, but if i were to do a project solely based on Illustrator, I don't think it would turn out well.
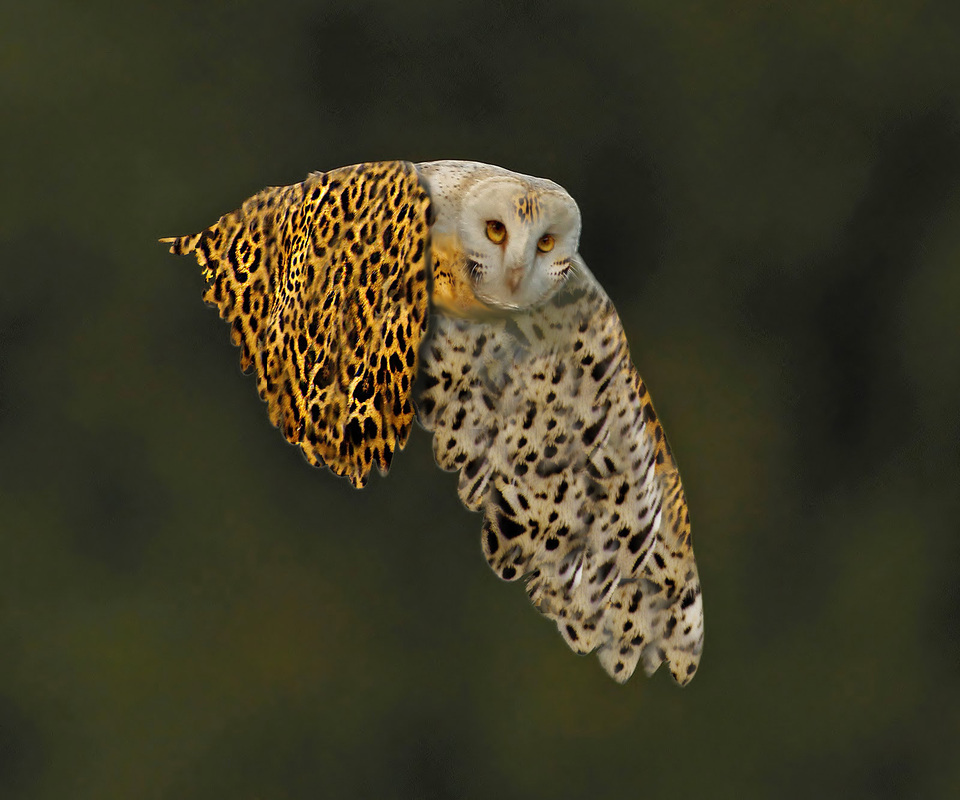
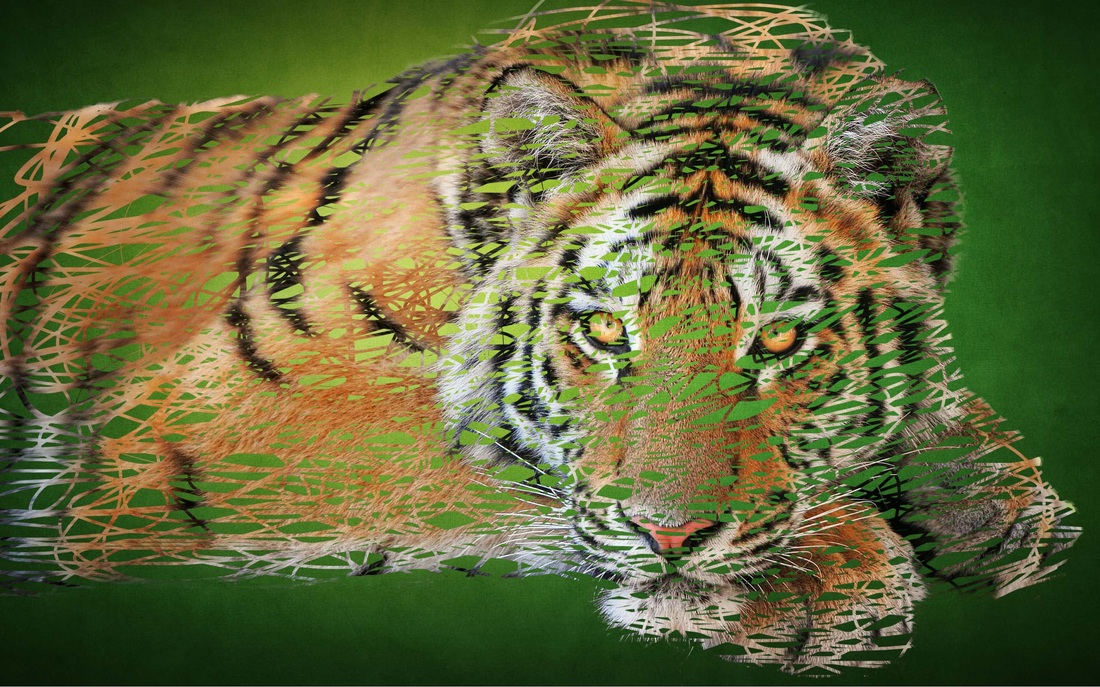
My absolute favorite project would have to be the assignment where we had to combine to animals. It was one of the first projects, but I just loved the outcome and every time I look at it I feel proud. It was my first time using the Clone Stamp, but I had this idea and I was going to make it work. The leopard fur and eyes that I added to the owl made the project a success.
My absolute favorite project would have to be the assignment where we had to combine to animals. It was one of the first projects, but I just loved the outcome and every time I look at it I feel proud. It was my first time using the Clone Stamp, but I had this idea and I was going to make it work. The leopard fur and eyes that I added to the owl made the project a success.
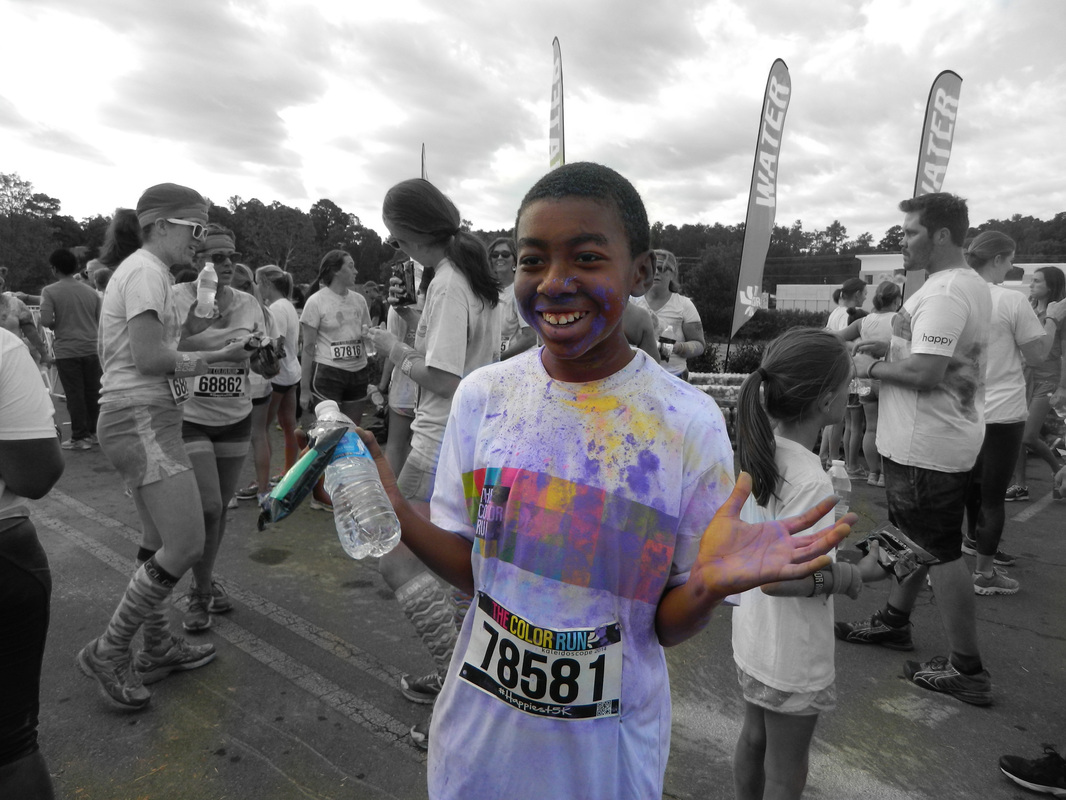
Color splash Tutorial
This tutorial is to show how add a splash of color through a few easy steps!
Step 1: Open Photoshop, then find a picture you would like to use.
Step 2: Duplicate the picture. Click on the copied image.
Step 3: Then, go to Image>Image Adjustments>Hue/Saturation. Lower the Saturation to -100. This should make the image grey.
Step 4: Now, use the Quick Selection Tool to select what you want to be colored.
Step 5: Click the Eraser Tool and erase inside the selection. This should give color to the area you specifically want.
Step 6: To be as precise as you can, use the Zoom tool and increase/decrease the size of the brush to erase the edges.
You are finished!!! :)


 RSS Feed
