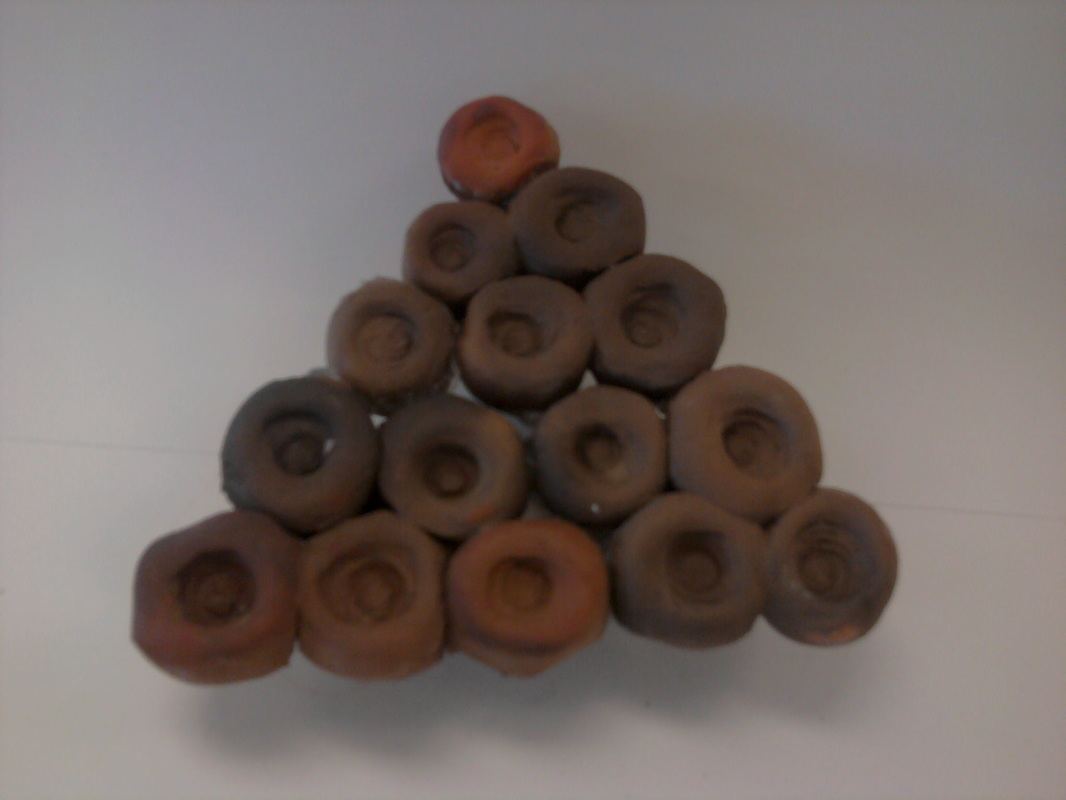
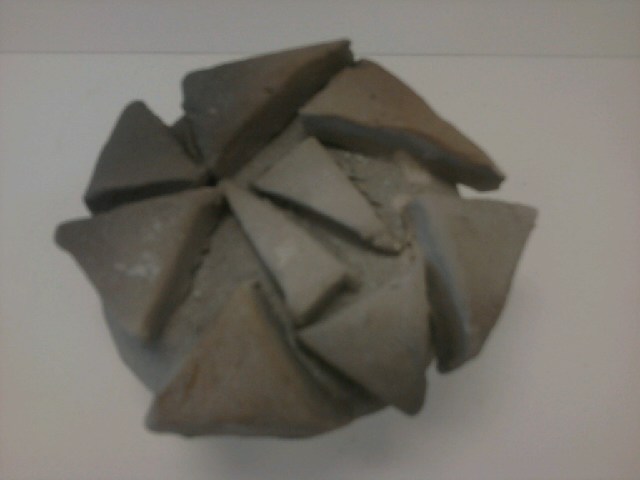
  For the Foil Saggar Project the class had to make something out of clay that we could Pit Fire, or kelm. I made two pieces! I made a table with various sized triangles on it, then I made another table made out of circles. I decided to stick with the geometric theme that I had. Then, I grabbled some aluminum foil and some leaves, pine straw, and bark from outside. It was better to have a lot so that the smoke would make a cool pattern. I wrapped everything up and put it in the kelm room for the pit fire.
There was a delay in the pit firing for a couple of days and I had to collect some more things for my pieces. The second time we pit fired it went wrong and the pieces had to be pulled out early, so some had cool patterns and some didn't. Mine didn't really have a pattern, but it had a cool gradient smokey look, which I liked. After I glued my pieces back together (because it fell apart during the firing), I liked the final product. It would have been cool if we had completed the whole process, but I'll deal. This project was a great way to end the class and maybe I can do some pit firing in college, who knows! 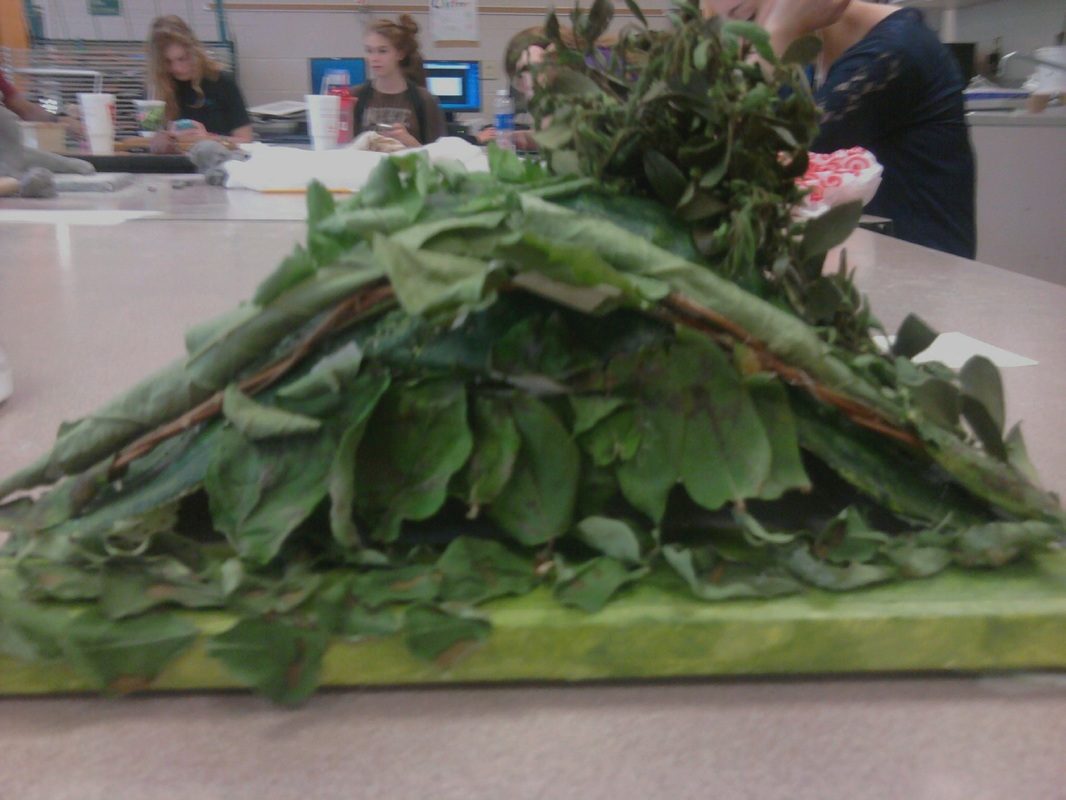 Our assignment for the week was to make a dwelling. At first I was going to do my own twist on a hobbit hole, but then decided to take a more unique route. I still wanted to do something with greenery, so I grabbed a bag full of various leaves and brought it to class. I used plaster strips and a mold to shape my dwelling (later realizing the mold wouldn't come off...oops).
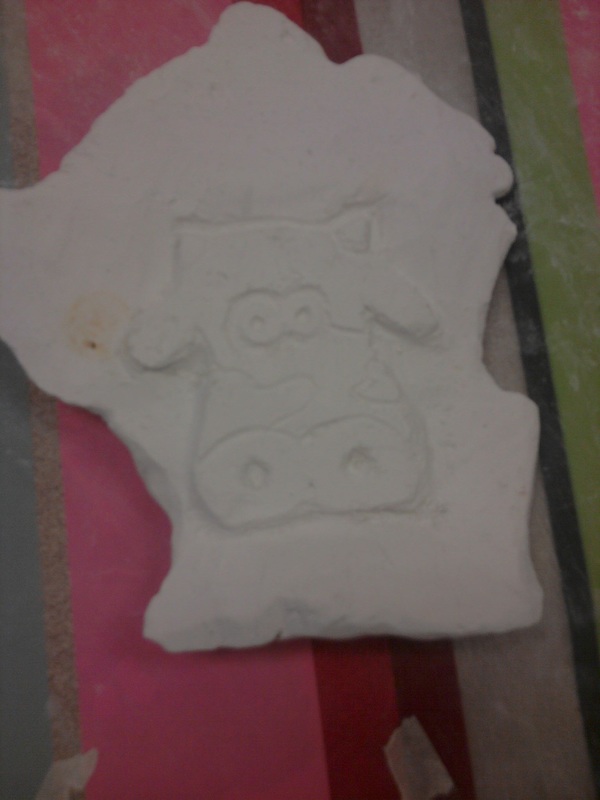
I painted my the plaster green and started to glue my greenery on. I made a door out of small leaves and layered the top of the dwelling with various leaves. I even glued some branches together to make a small tree. The only downside was that, since it was live nature it dried out pretty quickly, because I couldn't keep it moist. It looked good the first to days, but after that it wasn't looking so hot. The only thing that would have made this project better was if I had found a way to keep the leaves looking fresh. pit firing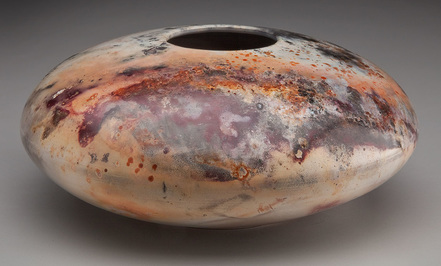 It's when pots are placed in a pit and burned! This method dates back up to 30,000 years. The colors and patterns come from the ashes and smoke swirling around and end up on the pot due to the heat! Burn baby burn!! Foil saggar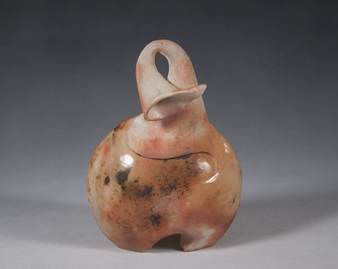 Saggars are the lidded containers used to contain and isolate pots to contain fumes around a pot so it can pick up colors from the fumes. Aluminum foil is wrapped around these pots so that can get their unique color. paper saggar Paper is wrapped around the pot after being coated in Ferric Chloride. The pot is put into a bag after being wrapped in newspaper. 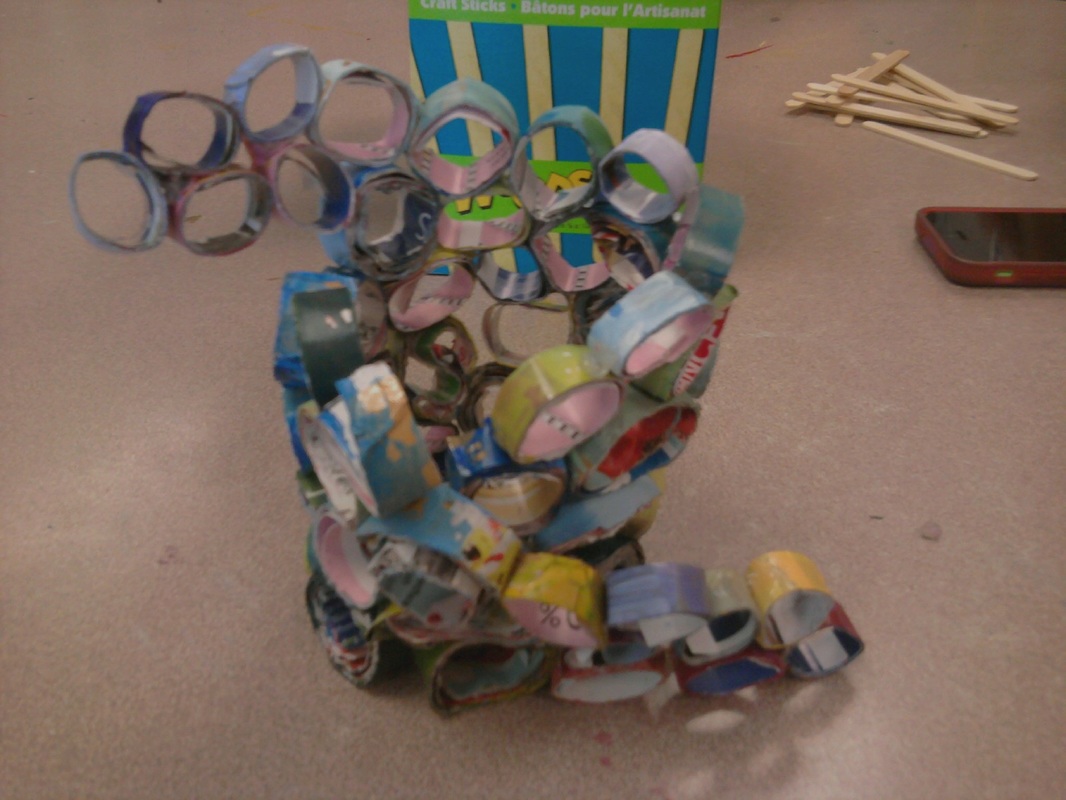 For the Free project we were suppose to put together a sculpture that was $3 or less. I knew that in my house we have a lot of magazine and were inexpensive, so I decided to use that. I rolled up magazines and cut them into small circles. I used hot glue to hold together the bottom of the sculpture. I used Glue Dots to hold together the individual circles that would form the bowl. I had help from Emmaly, who helped paint the circles to speed up the process.
I finished the vase pretty quickly so I just sat around for a bit. Then a couple days later, I really wanted to change the shape, a bowl wasn't very original. I started playing around with it and I wanted to do this spiral shape, because I thought it would look cool! My hard work payed off when the finished product(pictured above) had this crazy shape! The next project we were assigned was to make a vessel. I looked on Pinterest and was fascinated of the vessels that looked like an animal. I focused on this one that looked like a whale teapot. I totally could do that! The shape was easy to do, the only trouble I had was with the tail/handle. I thought my teapot would look really cool if it looked like it was spouting out water. So, I added some water drops around the rim.
After my pot was fired I went straight to glazing it. I decided on a light blue for the whale body and a dark blue for the water and it's eyes. I added multiple coats, but I thought the light blue glaze would be thicker after it was fired. I still really like it, but if I could add a couple more coats of light blue it would look amazing. The class was assigned to make an animal head. At first I was trying to make a walrus but couldn't get the head right. It looked too long and had the basic features of a giraffe. So I got to work on the giraffe,but it took longer than normal because I had trouble with getting each side to look symmetrical. The eyes gave me the most trouble, because they either weren't the same size or not lined up. Then the ears were to small, so I had to start from scratch with those. It was really exhausting,but I finally got the shape finished.
I had the most fun while painting. When I was first starting off I couldn't get the color the way I wanted. It was to brown or to pink, it was very frustrating! I finally decided on a gradient look of brown. I added some dark brown spots to make it more realistic and I really loved how it turned out! I am so proud of this piece, its one of my favorites!! |
AuthorWrite something about yourself. No need to be fancy, just an overview. Archives
April 2015
Categories |

 RSS Feed
